How to record your guitar for great tone
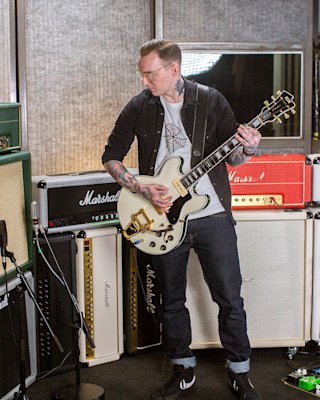
Whether you're at home, in the studio, or in your practice space, one thing stays the same - tone is everything. Ask any guitarist what matters most to them, and chances are they'll give you the same answer. Although 'good tone' is subjective, there are specific techniques used in recording environments that ensure a great sound and a solid foundation to work with. From miking techniques to mixing tricks, we've compiled some of the best recording and mixing techniques for guaranteed tonal bliss.
Start at the source
No amount of effects or plug-ins can fix a bad recording; if your source audio has issues, then you're doomed. Getting things right before you record saves time and headaches later. Before hitting record, check the basics:
Is my guitar in tune and free from buzzing?
Is my intonation correct? (To check, play an open string, then the same note at the 12th fret with a tuner. Adjust bridge saddles until they match.)
Am I wearing any jewellery that will hit the strings in the recording?
Have I eliminated all background noises (such as computer fans and phone alerts) that might ruin a take?
Is my guitar signal okay? (avoid peaking and at no higher than -10db for mixed headroom)
Mic it up
Everyone has their own approach to amp miking, but some proven techniques will help you get a great sound from the start.
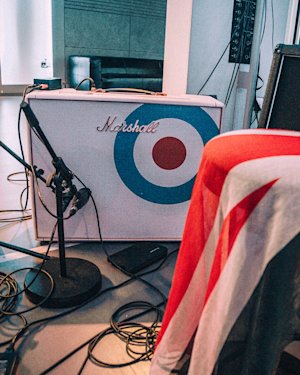
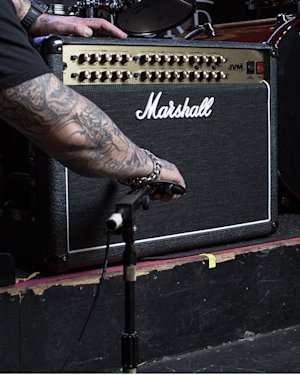
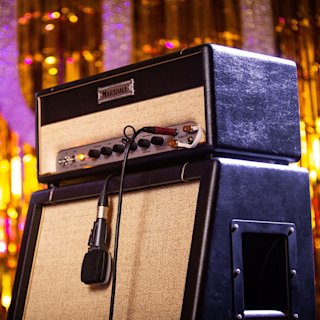
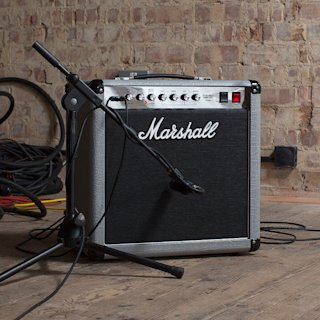
To find the speaker cone, tap the fret cloth or shine a torch on it. Once located, try using a cardioid dynamic mic less than 2 inches from the speaker cone. These mics are ideal thanks to their sub-200Hz roll-off and ability to reject sound from behind.
To explore different sounds:
Move the mic off-axis or closer to the speaker’s edge. The centre gives a brighter sound, while the edge produces a warmer, darker tone.
Try using two dynamic mics for a fuller sound but keep them close to avoid phase cancellation.
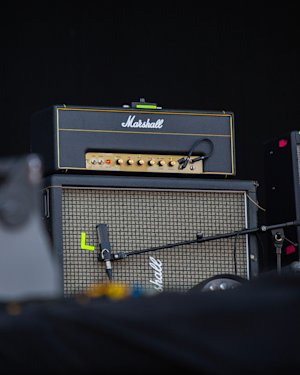
Add a condenser mic further back to capture a wider ambient sound. This works especially well with amps like the Studio JTM Combo or Studio Vintage Head.
Mic placements
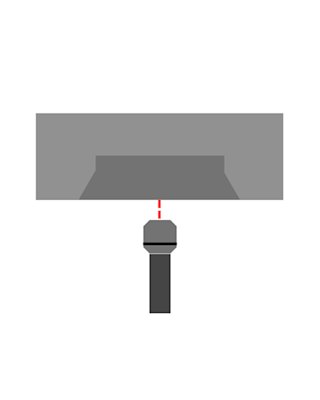
Bright with clarity
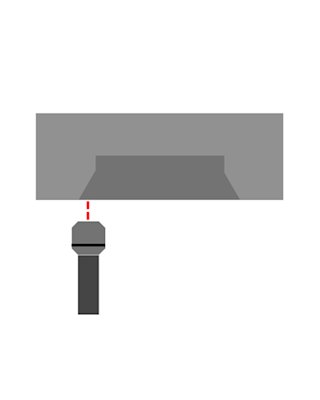
Mellow, Rounded
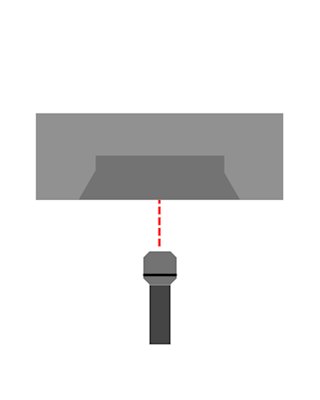
Less low-end resonance

More low-end resonance
If you're recording from home, these microphone signals will go into an audio interface. Depending on the price, interfaces can feature higher-quality preamps, which significantly impact the sound quality of the recording. Just be sure to monitor your audio signal and avoid clipping or exceeding -10dB to maintain clean recordings.
Mix it up
When you're tracking guitars:
Experiment with different pickup positions.
Play with chord inversions and right-hand velocity.
Use amps with flexible tone shaping, such as the JVM410 Combo or DSL100 Head, to shape your sound during recording, so you don't have to rely as heavily on editing later.
Stack it up
There's a time and a place for a single guitar line, but primarily with rock-based tracks, double tracking is your friend. It helps fill out the sound and gives your guitar that extra bit of oomph.
Record your part, then repeat it and play both together.
Pan one left and one right for a wider stereo spread.
If you want it even thicker, consider a quad-track arrangement with alternative mic placement and panning.
Keep your parts tight to avoid muddiness, as too many layers can clutter the mix.
If needed, adjust the tracks so they all play at the same time and stay in sync.
Multi-channel amps, such as the JVM205 or JVM210 Heads, provide tonal variety without requiring you to switch rigs between takes.
Clean it up
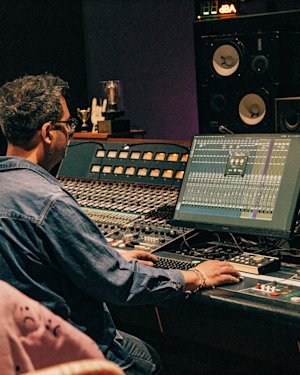
Now that you have a high-quality, in-tune guitar part that's been properly mic'd up, it's time to consider how it sits in the mix and its sonic properties.
Use a noise gate to remove the noise floor between playing. Tighter, more responsive noise gates work best for heavy rock.
Consider your EQ; don't be afraid to roll off some low- or high-end frequencies to help the guitar sit better in the mix.
A guitar that sounds great in isolation might not work well alongside other instruments.
To clean up a guitar part, pull one narrow EQ band up to a very high setting and sweep it across the frequency range to identify harsh sounds, then reduce those frequencies.
Short reverbs or delays can help lead parts cut through the mix by creating extra spread.
Vintage-style amps, such as the Studio Jubilee or Silver Jubilee 2555X Heads, deliver classic tones that blend seamlessly with minimal sculpting.
There are a vast number of variables when it comes to the sonic realm of recording, but if you follow these steps, you should have some huge-sounding guitar parts that will capture everyone's attention and leave a lasting impression.
Find the Perfect Amp for Recording
View allExplore more guides
