Essential guitar re-amping guide

Choosing the right guitar sound before you start recording can be difficult. Sometimes, the tone you pick doesn’t quite fit the song or the mix, but by then, the recording is done. Re-amping is a technique that allows you to record a clean guitar signal first and then add the amp sound later. This gives you more freedom to find the perfect tone without having to play the part again.
What is re-amping?
Re-amping involves taking a clean, direct pre-recorded guitar signal and sending it back through an amp using a re-amp box. This technique lets you experiment with different amp settings and mic placements after recording. The re-amp box ensures the signal is at the right level for your amps and allows you to blend multiple tones for a richer sound.
To get started with re-amping, just follow these simple steps.
Step 1: Record a clean DI guitar track
Begin by capturing a clean, unprocessed guitar performance to ensure you have a flexible and high-quality source to work with.
Plug your guitar directly into your audio interface or DI box.
Set up your DAW session and record the guitar with no amps or pedals involved.
Focus on getting the best possible performance.


Step 2: Set up your re-amp chain
Next, prepare the equipment that will convert your DAW’s output signal into a level suitable for guitar amps.
Connect your DAW’s line output to a re-amp box, which adjusts the signal to instrument level.
Use the ground lift feature on the re-amp box if you encounter hum or noise.
Adjust the re-amp box’s output level to protect your amps from signal overload.
Connect the re-amp box to a splitter if you want to send the signal to multiple amps at once.
Step 3: Mic your amps
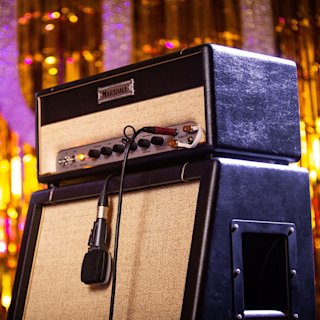
Now it’s time to capture the sound of your amps using microphones positioned to bring out the best tone.
For clean tones, consider using amps such as the Studio Vintage Combo or Origin20 Head, which are renowned for their warm, articulate, clean channels. Position your mic on axis, close to the speaker cone, for a clear capture.
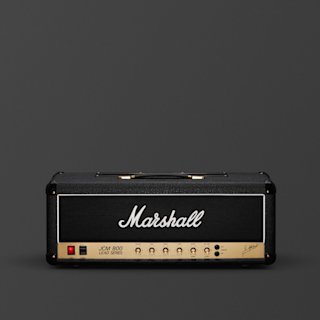
For overdriven sounds, classic models such as the Silver Jubilee 2555X Vintage Reissue Head or the JCM800 2203 Vintage Reissue Head are excellent choices. Try using two mics, one on-axis at the centre of the cone and one off-axis, aimed at the edge of the cone, to capture a fuller, richer distortion tone.
Connect your mics to your audio interface or mixer and adjust the input levels accordingly.
Step 4: Send the clean DI signal back to the amps
With everything connected, send the clean guitar track’s output through the re-amping setup to hear the guitar through your amps.
Route the clean DI track’s output from your DAW to the re-amp box and splitter feeding your amps.
Dial in your tone by adjusting the settings on your amp.
Monitor the mic signals and ensure everything sounds balanced.
Step 5: Add effects (optional)
If you want to enhance your guitar tone further, run the re-amped signal through pedals before or after the amp.
Whether it’s fuzz, delay, or reverb, pedals can be used in conjunction with amps like the DSL40 Combo or MG50GFX Combo to create unique textures.
Explore our range of pedals, from the rich overdrive of the JCM800 Overdrive Pedal to the aggressive distortion of the ShredMaster.
Tweak pedal settings to craft the perfect lead or rhythm tone.


Step 6: Record the amped signals
Once you’re happy with the amp tones, record the mic signals back into your DAW.
Capture each amp’s mic feed on separate tracks for maximum mixing flexibility.
This lets you blend and shape the tones during mixing.
Step 7: Mix and refine
Finally, use your DAW’s mixing tools to balance and polish your guitar tracks for the final sound.
Adjust levels and apply EQ and compression as needed.
Blend clean tones from amps like the Origin50 Combo with overdriven tones from the JCM900 4100 Vintage Reissue Head for a dynamic, layered guitar sound.
Utilise automation to highlight key elements and generate interest.
Re-amping opens the door to endless tonal possibilities by allowing you to experiment with a variety of amps, from the warm vintage tones of the 1974x Handwired Combo to the cutting-edge versatility of the JVM215 Combo. By recording a clean DI track first, you keep your options open and can craft the perfect guitar tone after the performance is done. With a little bit of patience and creativity, this technique can take your guitar recordings to the next level.
Find the Perfect Amp for Recording
View allExplore more guides


